고정 헤더 영역
상세 컨텐츠
본문
멋쟁이사자처럼 X K-DIGITAL Training - 08.02
파이썬애니웨어(pythonanywhere) https://www.pythonanywhere.com/
Login: PythonAnywhere
It's always a pleasure to hear from you! Ask us a question, or tell us what you love or hate about PythonAnywhere. We'll get back to you over email ASAP. Sorry, there was an error connecting to the server. Please try again in a few moments... Sorry, we hav
www.pythonanywhere.com
파이썬 기반 온라인 IDE 및 웹 호스팅 통합 서비스
[GITHUB] https://github.com/ijo0r98/django-opencv
GitHub - ijo0r98/django-opencv: [K-DIGITAL] openCV & Django 실습
[K-DIGITAL] openCV & Django 실습. Contribute to ijo0r98/django-opencv development by creating an account on GitHub.
github.com
GITHUB 업로드
먼저 실행에 필요한 라이브러리 리스트 추출
pip freeze > requirements.txt
.gitignore 파일 생성
*.pyc
*~
__pycache__
django_env
db.sqlite3
/static
/media/images
.DS_Store
Github 소스코드 업로드
[참고] 2021.03.08 - [dev] - [GIT] 간단한 Git 명령어 모음
[GIT] 간단한 Git 명령어 모음
내가 보려고 정리한 Git 명령어 레퍼지토리 복사(clone) # git 저장소 생성 git init # 원격 레퍼지토리 복사 git clone 레퍼지토리 업로드 # git 저장소 생성 git init # 업데이트된 내역 모두 staging area에 올..
juran-devblog.tistory.com
Python Anywhere
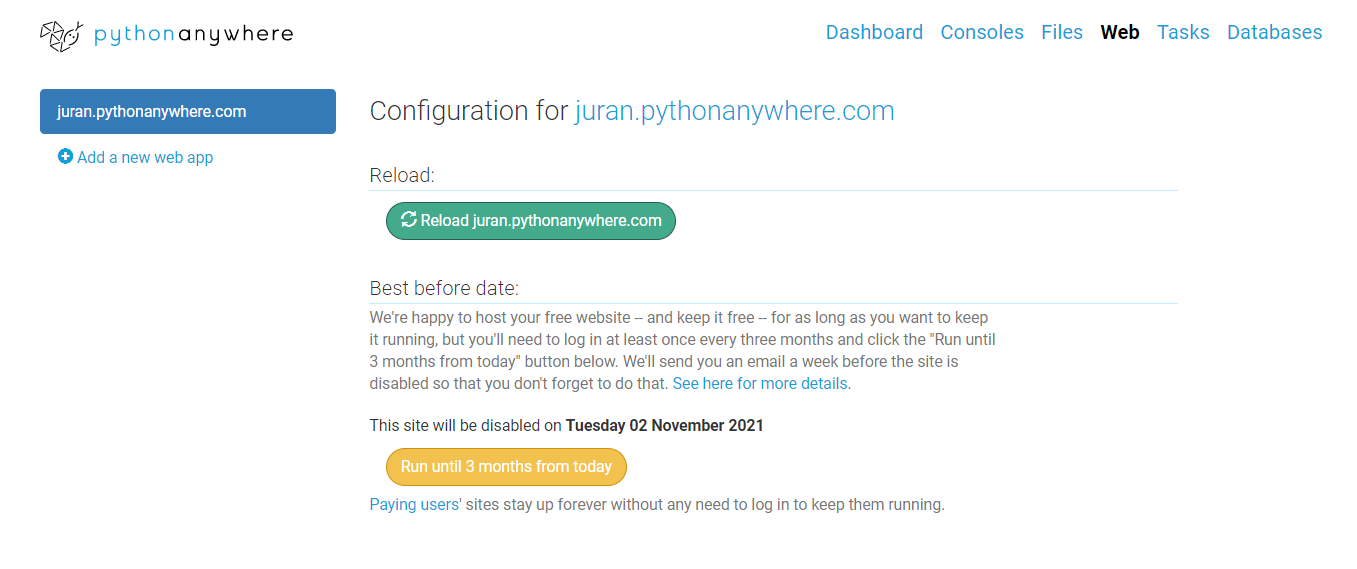
1. 웹 앱 추가
로그인 후 Web 탭 클릭

> Add a new web app 클릭
> Manual configuration (including virtualenvs)
> Python 3.7 (상황에 맞는 버전 선택)
2. 프로젝트 소스코드 업로드
Consoles 탭 클릭 > Bash 클릭

- Your cosoles에서 이미 열려있는 cmd 확인 가능
2-1) 깃에서 소스코드 다운로드
git clone {repository_url}
cd {repository_name}
2-2) 가상환경 준비
# 가상환경 생성
virtualenv --python=python3.7 django_env

# 가상환경 실행
source django_env/bin/activate
cd django-opencv

# 필요한 라이브러리 설치
pip install -r requirements.txt
3. 업로드된 소스코드 수정
3-1) 새로운 secret key 생성
secret key 생성 파이썬 코드
import string
import random

chars = ''.join([string.ascii_letters, string.digits, string.punctuation]).replace('\'', '').replace('"', '').replace('\\', '')
SECRET_KEY = ''.join([random.SystemRandom().choice(chars) for i in range(50)])

print(SECRET_KEY)
혹은 웹페이지 이용
Djecrety
Djecrety is a Django secret key generator. This is a web tool to generate SECRET_KEY and also have a Django package that does this simply with a command.
djecrety.ir
3-2) secret key & media root url 수정
Files 탭 클릭 > django-opencv > cv_project > settings.py
SECRET_KEY = '{key}' # 새로 생성한 키
DEBUG = False # 배포 버전
ALLOWED_HOSTS = ['{계정명}.pythonanywhere.com']
# .. 위에는 동일
MEDIA_URL = '/media/'
MEDIA_ROOT = os.path.join(BASE_DIR, 'media')
MEDIA_ROOT_URL = '/home/{계정명}/django_opencv' # 수정수정 후 save 버튼 클릭
4. 경로 설정
다시 Web 탭으로 돌아와서
4-1) virtualenv 경로 설정

Virtualenv > Enter path to a virtualenv, if desired 클릭 > /home/{계정명}/django-env 입력
4-2) media 경로 설정

Static files > Enter URL > /media/ 입력
Enter path > /home/{계정명}/django-opencv/media 입력
4. WSGI configuration file 수정
Web 탭 > Code 섹션 > WSGI configuration file 링크 클릭

import os
import sys

path = '/home/juran/django-opencv'
if path not in sys.path:
   sys.path.append(path)

os.environ['DJANGO_SETTINGS_MODULE'] = 'cv_project.settings'

from django.core.wsgi import get_wsgi_application
from django.contrib.staticfiles.handlers import StaticFilesHandler

application = StaticFilesHandler(get_wsgi_application())
수정하고 저장
5. 데이터베이스 마이그레이션 & 관리자계정 생성
Consoles 탭에서 열었던 Bash에 입력
python manage.py collectstatic
python manage.py migrate
python manage.py createsuperuser
* migration 폴더도 함께 깃에서 다운받음으로 makemigrations는 필요 없음
끝!
마지막으로 Web 탭에서 Reload 버튼 클릭 후 내 웹페이지 url 접속하여 확인
* 3개월에 한번씩 reload 해줘야함, reload 만료 전 메일로 안내됨으로 확인할 것!
https://juran.pythonanywhere.com/
opencv web
juran.pythonanywhere.com

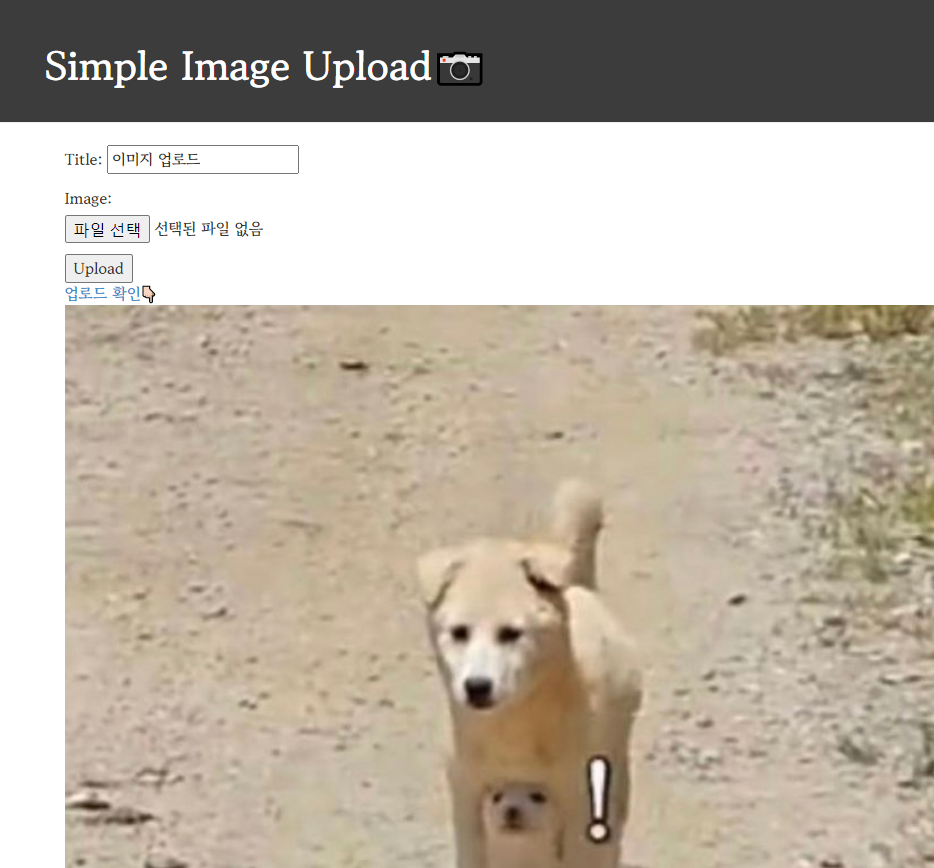
단순 이미지 업로드📷
https://juran.pythonanywhere.com/simple_upload/
opencv web
juran.pythonanywhere.com

OpenCV 이용한 얼굴감지🙄
https://juran.pythonanywhere.com/detect_face/
opencv web
juran.pythonanywhere.com

뒤에 모람..
Files 탭에서 저장된 이미지 확인/home/juran/django-opencv/media/images/year/month/day/..

'PYTHON > K-DIGITAL' 카테고리의 다른 글
| [K-DIGITAL] 파이널프로젝트. BEERCRAFT 맥주 추천 서비스(2) 추천 시스템 (0) | 2021.08.10 |
|---|---|
| [K-DIGITAL] 파이널프로젝트. BEERCRAFT 맥주 추천 서비스(1) 데이터 수집부터 클러스터링까지 (0) | 2021.08.09 |
| [K-DIGITAL] Django 실습과 pythonanywhere 배포(1) 웹 프로젝트 (0) | 2021.08.02 |
| [K-DIGITAL] 이미지 데이터 처리를 위한 CNN (0) | 2021.08.01 |
| [K-DIGITAL] 세미프로젝트3. 딥러닝을 활용한 주차 수요 예측 (0) | 2021.07.26 |
댓글 영역